
Blog
3D-Printed Halloween Decorations
Create custom 3D-printed Halloween decorations with tips on models, PLA, PETG, glow filament, slicer settings, jack-o’-lanterns, ghosts, bats, and props.
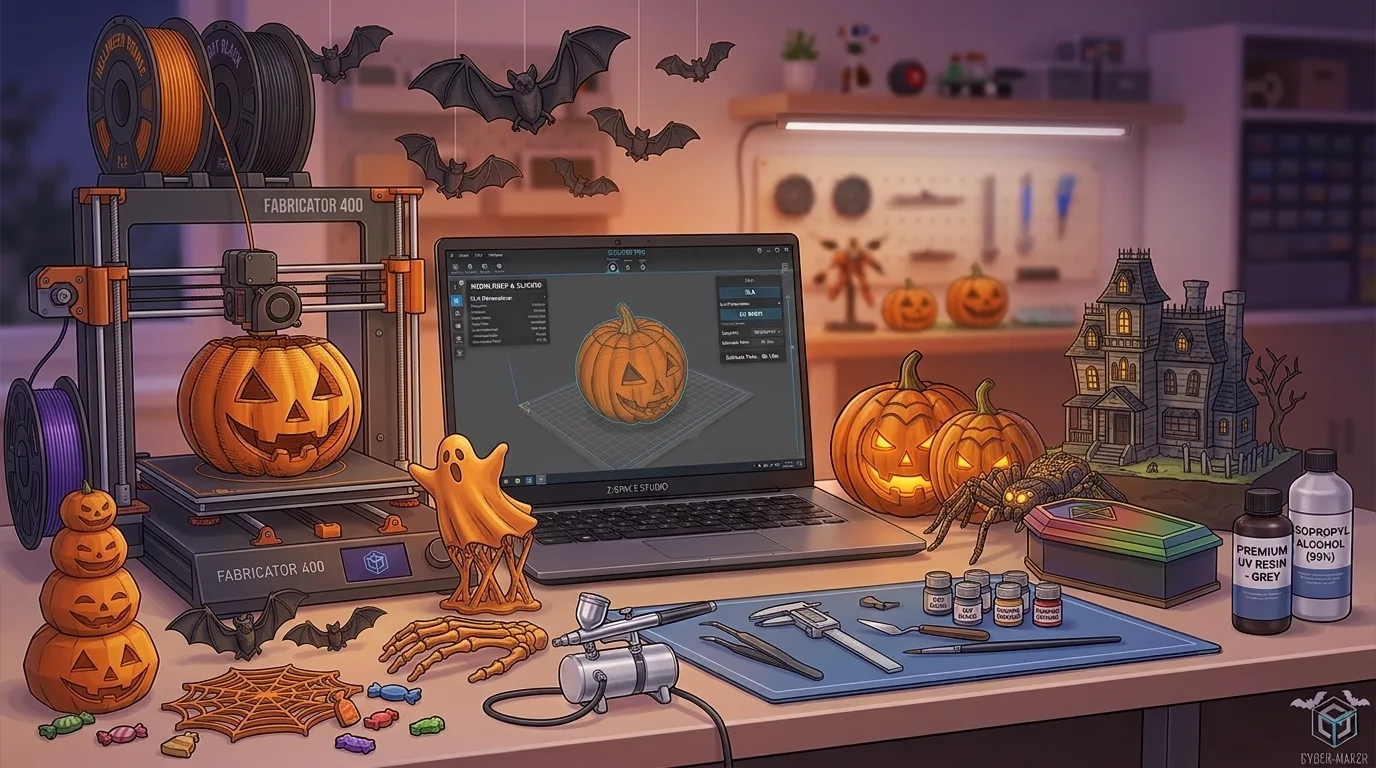
1. Beginner’s Guide to 3D-Printed Halloween Decorations
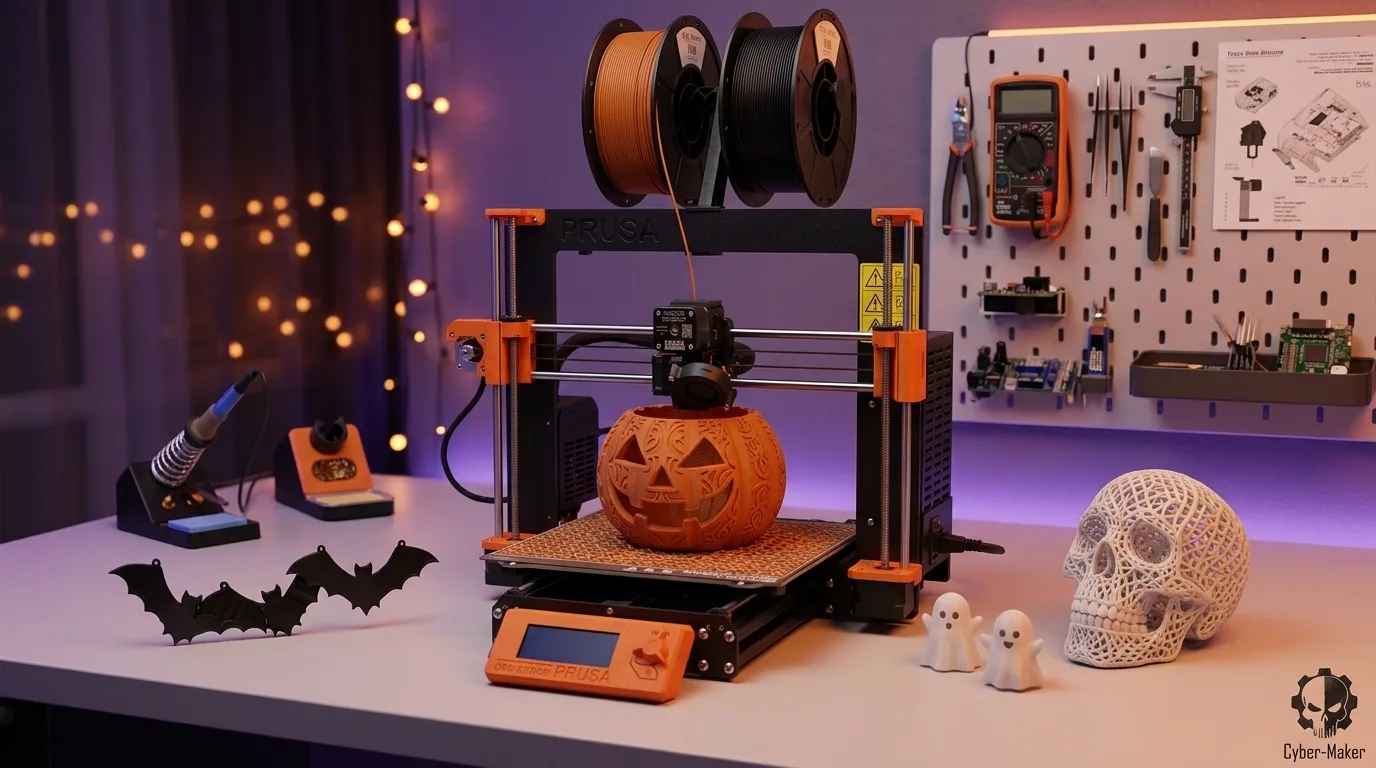
Halloween decorations are perfect for 3D printing: the shapes can be exaggerated, the sizes are flexible, the colors are vibrant, and many decorative pieces don’t need to withstand heavy loads. A standard desktop 3D printer is usually enough. From jack-o’-lantern shells, ghost figurines, skulls, and spiderweb hangers to door signs, candy boxes, and party props, 3D printing makes it easy to create customized decorations quickly.
For beginners, it’s best to start with small, simple models that require little or no support. Good examples include flat bat ornaments, simple pumpkin figures, tombstone signs, and cat silhouette decorations. These models print quickly, cost little if they fail, and make it easy to test different filament colors and print settings.
Before getting started, prepare the following:
- An FDM desktop 3D printer;
- Suitable filament, such as PLA, PETG, or glow-in-the-dark PLA;
- Downloaded or self-made 3D model files;
- Slicing software for setting layer height, infill, supports, and print speed;
- Post-processing tools such as sandpaper, flush cutters, glue, acrylic paint, or LED lights.
If your decorations are for indoor use, PLA is usually sufficient. If they will be placed by the front door, on a balcony, or outdoors, consider a more weather-resistant material such as PETG. For illuminated decorations like jack-o’-lanterns and ghost lampshades, glow-in-the-dark or translucent filament can create a stronger Halloween atmosphere.
2. Design Ideas and Use Cases for Halloween Decorations
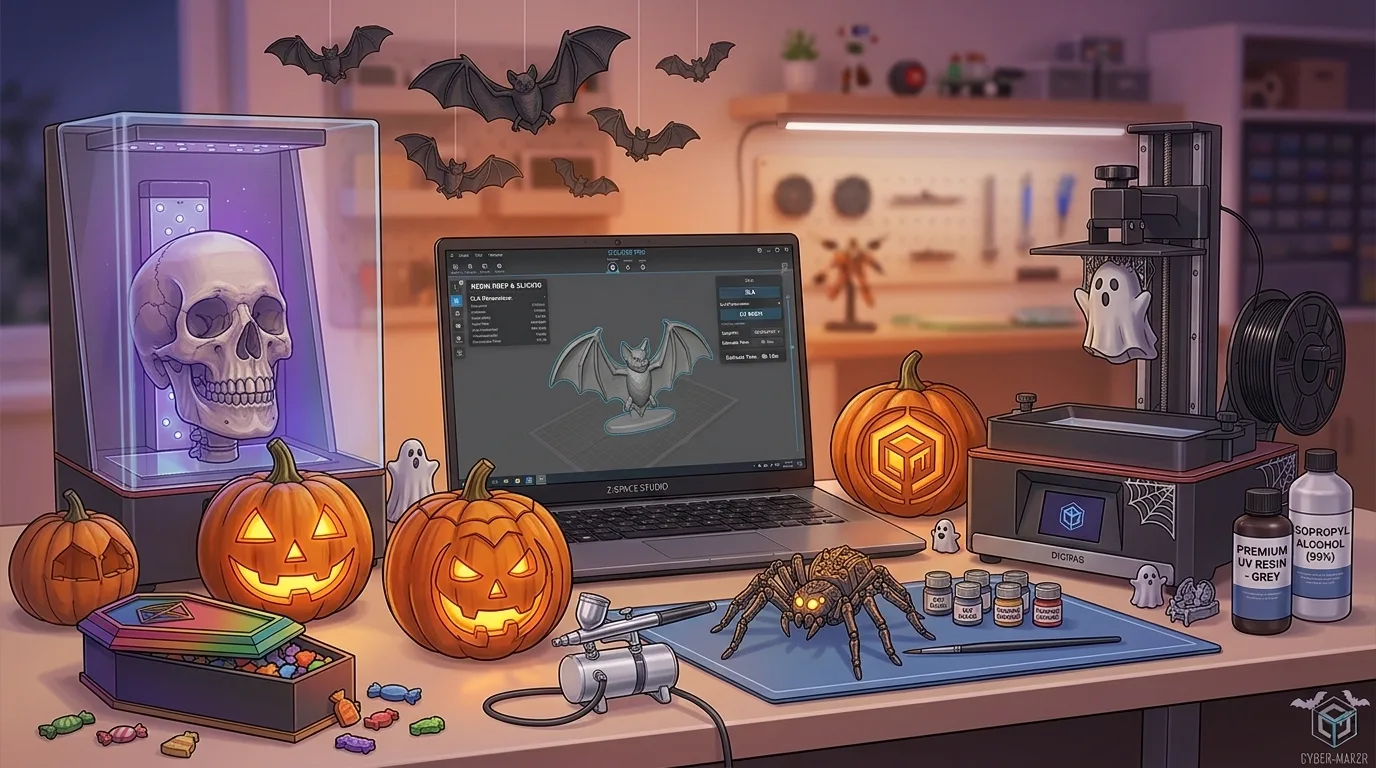
When designing Halloween decorations, start by defining where they will be used. Different scenarios have different requirements for size, color, structure, and safety. For example, tabletop pieces emphasize detail and visual appeal, door decorations need to be recognizable from a distance, and lampshade-style decorations must account for light transmission, heat dissipation, and stability.
Common use cases include:
- Indoor tabletop decorations
Print small pumpkins, ghosts, black cats, skulls, tombstones, and other figures for desks, dining tables, TV cabinets, or party setups.
- Wall, door, and window hangers
Bats, spiderwebs, witch hats, and spooky door signs work well as lightweight pieces that can be attached with double-sided tape, hooks, or string.
- Atmospheric lighting decorations
Jack-o’-lantern shells, ghost lampshades, and skull light bases can be paired with LED tealights or small light strips to create an eerie yet playful effect.
- Interactive party props
Masks, handheld signs, candy boxes, and small mechanical toys are great for family gatherings, school events, or retail displays.
- Commercial displays and storefront setups
Shops can print large themed signs, hanging decorations, 3D lettering, or combined scene displays to enhance seasonal marketing.
In terms of style, Halloween decorations can be cute, scary, vintage, or minimalist. Family-friendly settings are better suited to rounded, cartoon-like designs, while bars, escape rooms, and party venues can use scarier elements such as skulls, tombstones, cracked textures, and distressed details.
3. Types of Halloween Decorations Suitable for 3D Printing
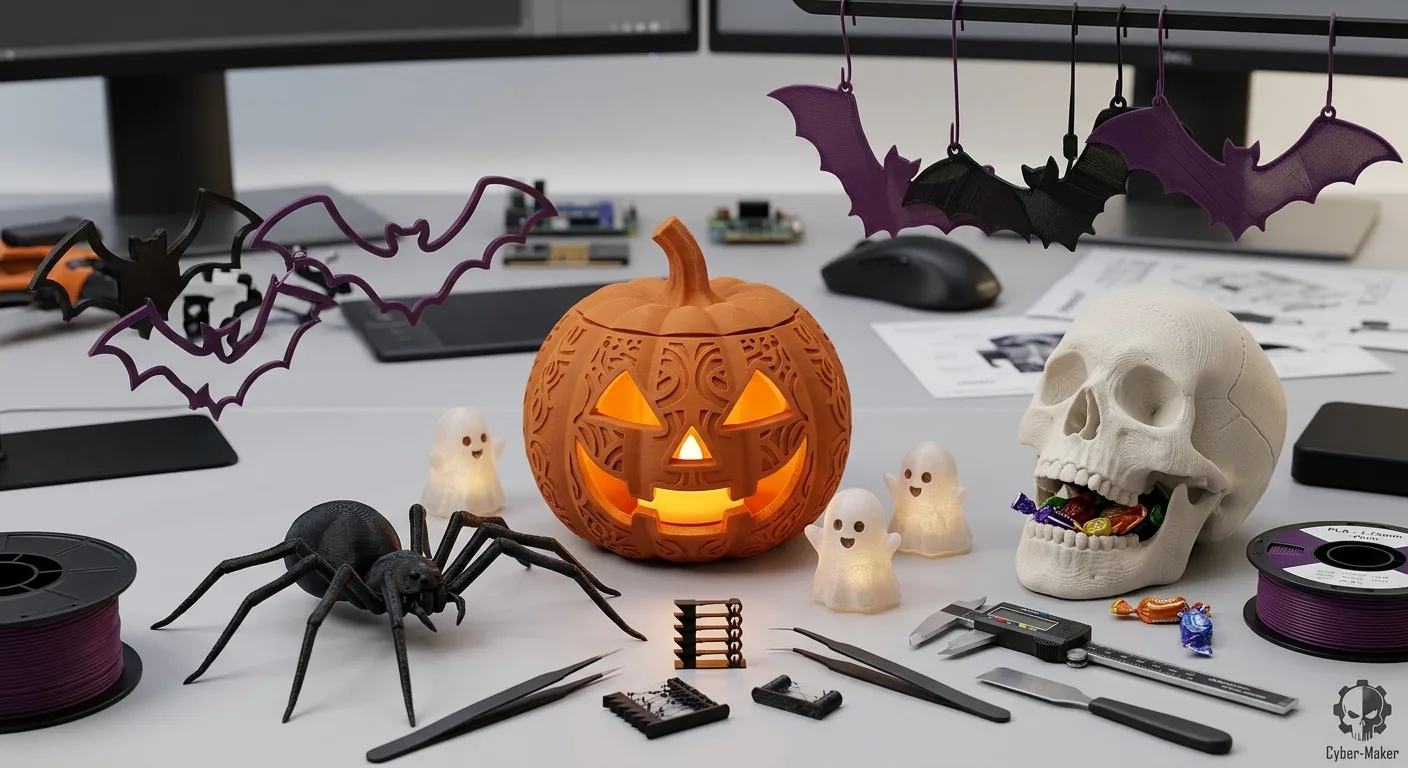
There are many types of Halloween decorations that are well suited for 3D printing. When choosing what to print, consider print difficulty, how the item will be used, and filament cost.
Jack-o’-Lanterns and Pumpkin Figures
Pumpkins are one of the most iconic Halloween elements. You can print solid pumpkin figures or hollow jack-o’-lantern shells. Jack-o’-lanterns are best used with LED tealights. Real flames are not recommended, as heat can deform the material or create safety risks.
Ghost and Monster Figures
Ghosts, monsters, eyeball creatures, and little demons are great candidates for white, green, purple, or glow-in-the-dark filament. If the model has a flat base, it may require little to no support, making it beginner-friendly.
Bat and Spiderweb Hangers
These decorations are usually flat or semi-3D structures, so they print quickly and use little material. You can arrange several on the build plate at once, print them in batches, and attach them to walls, windows, or door frames.
Skull and Tombstone Decorations
Skulls can be used as tabletop figures, lampshades, pen holders, or candy boxes. Tombstone signs work well in miniature scenes and can also be customized with text, such as names, Halloween phrases, or funny messages.
Candy Boxes and Storage Containers
3D-printed candy boxes can be both decorative and practical. When designing them, make sure the lid opens and closes smoothly, the edges are not sharp, and the interior space is large enough for candy.
Masks and Wearable Props
Masks, headbands, rings, brooches, and other wearable props are also suitable for 3D printing. However, these models need to fit the body comfortably. Check the size before printing, and sand any edges that may touch the skin.
4. Choosing the Right Source for 3D Model Files
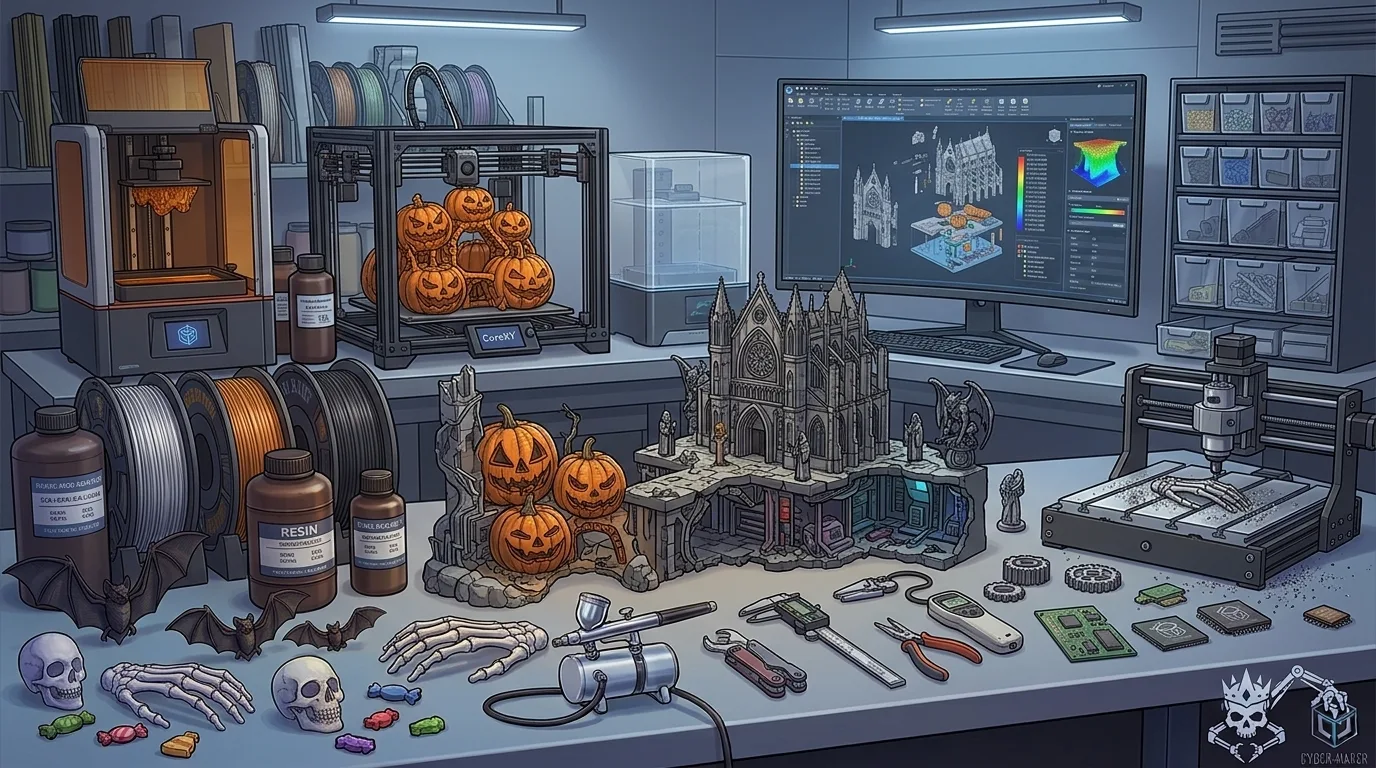
If you don’t want to model from scratch, you can download ready-made files from 3D model platforms. Common formats include STL, OBJ, and 3MF. STL is the most common, while 3MF can retain more print-related information.
When choosing a model, pay special attention to the following:
- Whether the model is suitable for FDM printing
Some models have extremely fine details or steep overhangs and are better suited to resin printing. For FDM printing, choose models with relatively simple structures and minimal supports.
- Whether print settings are provided
High-quality models often include recommended layer height, infill, support requirements, and whether a raft, brim, or skirt is needed.
- Whether the model is split into parts
For more complex models such as jack-o’-lanterns, candy boxes, and masks, split designs are easier to print and assemble and can reduce support marks.
- Copyright and licensing
For personal home decoration, free models are usually fine. If you plan to sell the prints or use them in commercial displays, confirm that commercial use is allowed to avoid copyright issues.
- Whether the model size is reasonable
Don’t print immediately after downloading. First, check the dimensions in your slicer. Some models use default units or scales that are not suitable for direct printing and may need to be resized.
For beginners, it’s best to choose models with plenty of comments and successful print examples. This lets you learn from other users’ experiences and avoid common mistakes.
5. Recommended Modeling and Slicing Software
If you want to create one-of-a-kind Halloween decorations, try using modeling software for simple designs. Different tools are suited to different skill levels.
Beginner-Friendly Modeling Software
These tools are suitable for simple hangers, text signs, door plaques, and silhouette models, such as bat outlines, pumpkin face patterns, and flat spiderweb ornaments. Beginner-friendly software is usually intuitive and works well for users with no modeling experience.
Parametric Modeling Software
If you want to design more precise functional models, such as hinged candy boxes, lampshade clips, or modular jack-o’-lanterns, use parametric modeling tools. They allow precise control over dimensions, holes, wall thickness, and assembly tolerances.
Sculpting Software
For organic shapes such as skulls, monsters, and ghost masks, sculpting software is better for creating natural curves, wrinkles, cracks, and exaggerated expressions. However, these tools have a steeper learning curve and are better suited for users with some experience.
Slicing software converts 3D models into path files that your printer can read. During slicing, you need to set layer height, nozzle temperature, bed temperature, print speed, supports, infill, and other parameters. For Halloween decorations, the most common slicer adjustments include:
- Scaling models up or down;
- Using low infill to save material;
- Enabling or disabling supports;
- Adjusting wall count to improve strength and appearance;
- Choosing different layer heights to balance speed and detail;
- Using pause-at-height or filament-change features for multicolor effects.
For flat hangers or simple figures, slicer settings can be fairly conservative. For lampshades, boxes, or assembled models, check wall thickness, clearances, and support placement more carefully.
6. Choosing Print Materials: PLA, PETG, and Glow-in-the-Dark Filament
Material choice directly affects the look, durability, and use case of your decorations. PLA is the most common material for Halloween decorations, followed by PETG and glow-in-the-dark filament.
PLA: The Best All-Purpose Choice for Beginners
PLA is easy to print, has relatively low odor, and comes in many colors, making it ideal for indoor decorations. Orange PLA works well for pumpkins, white PLA for ghosts, and black PLA for bats, spiders, and haunted house silhouettes.
The downside of PLA is its limited heat resistance. It should not be used near hot bulbs, heaters, or in areas exposed to strong sunlight for long periods. When making lampshades, pair PLA prints with low-heat LED light sources.
PETG: Better for Outdoor and Durable Decorations
PETG has better toughness, heat resistance, and weather resistance than PLA in most cases. It is suitable for front-door decorations, outdoor hangers, or props that will be reused frequently. However, PETG is more prone to stringing and requires more careful temperature and retraction settings.
If you plan to make a large door sign, outdoor jack-o’-lantern shell, or balcony hanger, PETG is usually a safer choice than PLA.
Glow-in-the-Dark Filament: Boosting the Halloween Atmosphere
Glow-in-the-dark PLA can absorb light and glow in the dark, making it perfect for ghosts, skulls, eyeballs, tombstone lettering, and jack-o’-lantern details. Keep in mind that glow-in-the-dark filament typically contains phosphorescent powder, which can wear down the nozzle more noticeably. For long-term printing, consider using a hardened nozzle.
When using glow-in-the-dark filament, it is recommended to:
- Dry the filament thoroughly before printing;
- Reduce print speed slightly to improve surface quality;
- Use thicker outer walls for a stronger glow effect;
- Expose the finished print to strong light for a while before viewing the glow.
If you want a stronger visual effect, you can also print the main body with regular filament and use glow paint or fluorescent paint during post-processing.
7. Recommended Nozzle Size, Layer Height, and Infill Settings
Print settings determine the detail, strength, and print time of the finished piece. For Halloween decorations, there is no need to chase maximum precision in every case. Adjust settings based on how the model will be used.
Nozzle Size
A common nozzle size is 0.4 mm, which works for most decorations. For large jack-o’-lanterns, tombstone signs, or wall hangers, a 0.6 mm nozzle can improve print speed. For small skulls, fine textures, or miniature figures, a 0.25 mm nozzle can produce better detail, but the print time will increase significantly.
Layer Height Settings
Recommended layer heights include:
- 0.12 mm to 0.16 mm: Suitable for small detailed figures, such as skulls, monster faces, and complex pumpkin textures;
- 0.2 mm: A general-purpose layer height for most Halloween decorations;
- 0.28 mm and above: Suitable for large decorations, background panels, tombstone signs, and other models where fine detail is less important.
If the model has obvious curved surfaces, such as pumpkins, ghosts, or skulls, a lower layer height can reduce visible layer lines. For flat silhouette hangers, a higher layer height is usually acceptable.
Infill Settings
Most Halloween decorations do not require high strength, so infill can often be reduced:
- 0% infill: Suitable for lampshades, thin-walled pumpkin shells, and hollow ghosts;
- 5% to 10% infill: Suitable for general figures and hangers;
- 15% to 20% infill: Suitable for boxes, masks, or outdoor decorations that need some strength;
- Higher infill: Usually not recommended unless the model needs to bear weight or be used frequently.
Wall count is also important. For lampshade-style models, use at least 2 to 3 outer walls. For durable items such as candy boxes and door signs, use 3 to 4 outer walls to improve overall strength.
8. Structural Design for 3D-Printed Jack-o’-Lantern Shells
The jack-o’-lantern is one of the most recognizable Halloween decorations. When 3D printing a jack-o’-lantern, the structure should balance appearance, light transmission, safety, and ease of assembly.
First, jack-o’-lantern shells are usually best designed as hollow structures with an opening at the bottom so you can place an LED tealight, button light, or small light strip inside. Do not use real candles, because PLA and PETG are not suitable for contact with open flames or high heat.
Second, the walls should not be too thick. Overly thick walls reduce light transmission and increase both filament use and print time. In general, decorative jack-o’-lantern shells can use a wall thickness of about 1.2 mm to 2 mm, depending on nozzle size and model dimensions. For softer lighting, use translucent orange filament or place a warm-white LED inside.
The cutout design of the pumpkin face is also important. The eye, nose, and mouth openings should avoid overly thin sharp points, which can lead to rough edges or breakage during printing. You can thicken sharp corners slightly or turn them into rounded corners to improve print success and durability.
For easier printing, jack-o’-lanterns can use the following structural approaches:
- One-piece hollow print
Suitable for smaller jack-o’-lanterns. After printing, simply place the light source inside. The advantage is simple assembly, but internal supports and openings need to be handled carefully.
- Top-and-bottom split print
Divide the jack-o’-lantern into a top lid and lower shell, making it easier to insert the light source and replace batteries. This works well for medium and large decorations.
- Front-and-back split print
Suitable for models with complex facial expressions or relief textures. This can reduce support marks and improve the appearance of the front side.
- Openwork shell with a separate base
The base can hold an LED light, battery box, or switch, making the whole piece more stable.
After printing, simple post-processing can improve the final look. For example, use black paint to darken the edges of the eyes and mouth, print the pumpkin stem in brown or green, or lightly dry-brush dark paint over the surface to emphasize the pumpkin ridges. Even a single-color print can look more layered and detailed this way.
With the right model, material, and print settings, you can easily create unique 3D-printed Halloween decorations. Whether for home décor, party props, or retail displays, 3D printing makes your Halloween setup more personalized, more dimensional, and more fun to make.