
Blog
Printing Figurines with a 3D Printer
Learn how to 3D print figurines with FDM or resin printers, choose materials, prepare models, split parts, add supports, and finish display-quality prints.
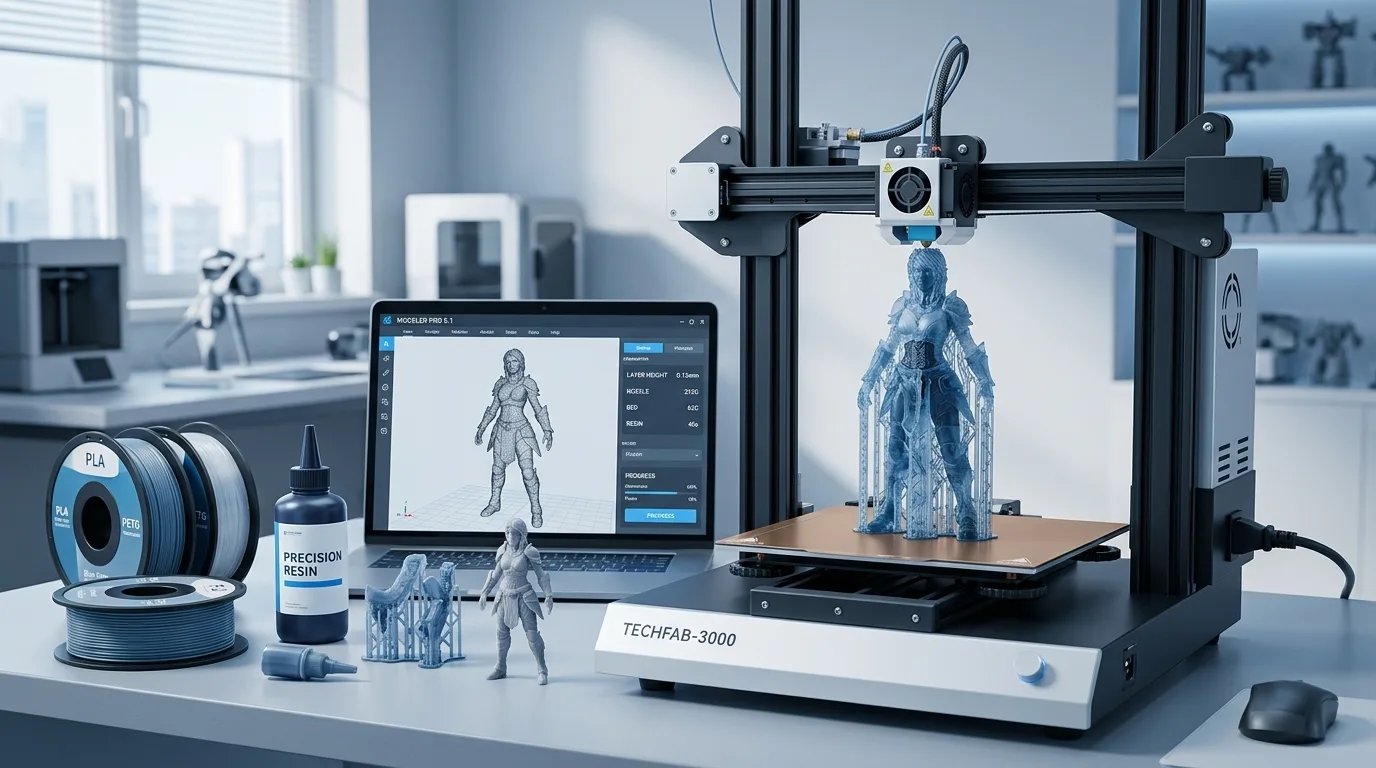
3D Printing Figurines
1. Project Background: Turning a Digital Model into a Physical Figurine
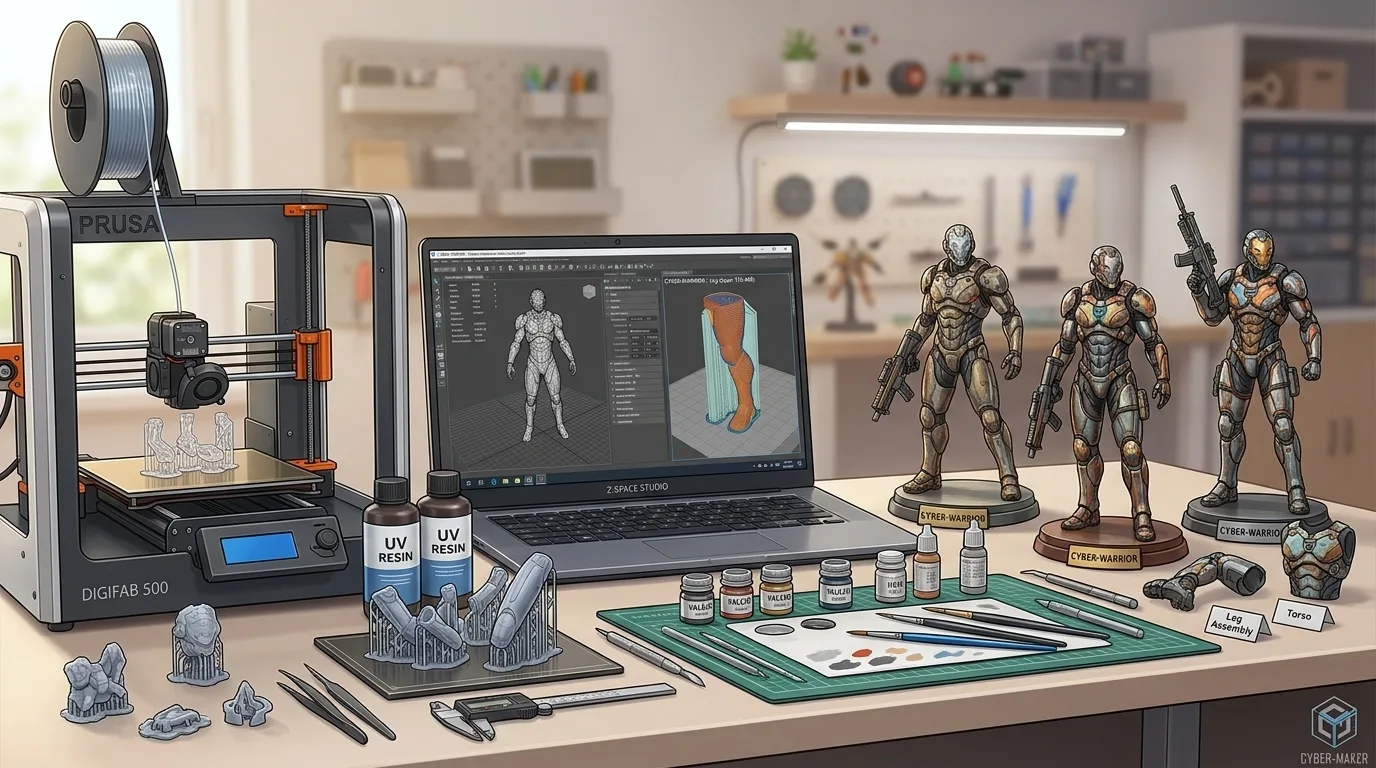
As desktop 3D printers become more common, more and more model enthusiasts are trying to turn digital figurine models into physical pieces. Compared with buying finished collectibles, 3D printing offers a much higher level of customization: you can freely adjust a character’s pose, proportions, base design, and even create custom variations and paint schemes based on your own preferences.
The goal of this project is to take a completed character figurine file and turn it into a display-ready physical model through proper model inspection, part separation, slicing, printing, and post-processing. The process is not only about whether the model can be printed, but also about print success rate, detail fidelity, surface quality, and the final paint finish.
In practice, printing figurines is usually more complicated than printing ordinary functional parts. Figurine models often include fine structures such as hair, clothing folds, weapons, fingers, and facial features. These details place higher demands on print resolution, support settings, and post-processing skills. Before printing, it is important to define the final size, intended use, budget, and acceptable production timeline.
If you only want to make a simple display ornament, lower-cost FDM printing may be enough. If you want a delicate finish closer to a commercial collectible, resin printing is usually the better choice. Different goals will directly affect equipment selection, material choice, and model preparation.
2. Choosing a Figurine Model: Copyright, Detail, and Printability
Choosing the figurine model is the first step of the project and one of the most important factors affecting the final result. Common sources include original sculpting, licensed model platforms, open-source model sites, and custom commissions. No matter where the model comes from, you should confirm copyright and usage rights first, especially for characters from anime, games, movies, or TV shows. Unlicensed models should not be used for commercial sales.
From a printing perspective, a suitable figurine model usually needs to meet the following conditions:
- The model is structurally complete, with no obvious broken or missing faces;
- Details are clear but do not rely too heavily on extremely thin structures;
- The pose is stable and the center of gravity is reasonable;
- Parts have clear connection relationships;
- The model proportions fit the target print size;
- The file format is compatible with common slicers, such as STL, OBJ, 3MF, and similar formats.
Higher resolution is not always better. A high-poly model can preserve more detail, but it also increases the processing load on slicing software. If your computer has limited performance, an overly detailed model may cause lag or even crashes. Before the final print, you can optimize the polygon count based on the intended finished size.
Printability also needs special attention. For example, floating strands of hair, long thin swords, and suspended cape edges may look great visually, but they are prone to failure or breakage during printing. If the model was designed for rendering rather than 3D printing, it may require structural thickening, part separation, or support optimization.
3. Printing Method: When to Use FDM or Resin Printing
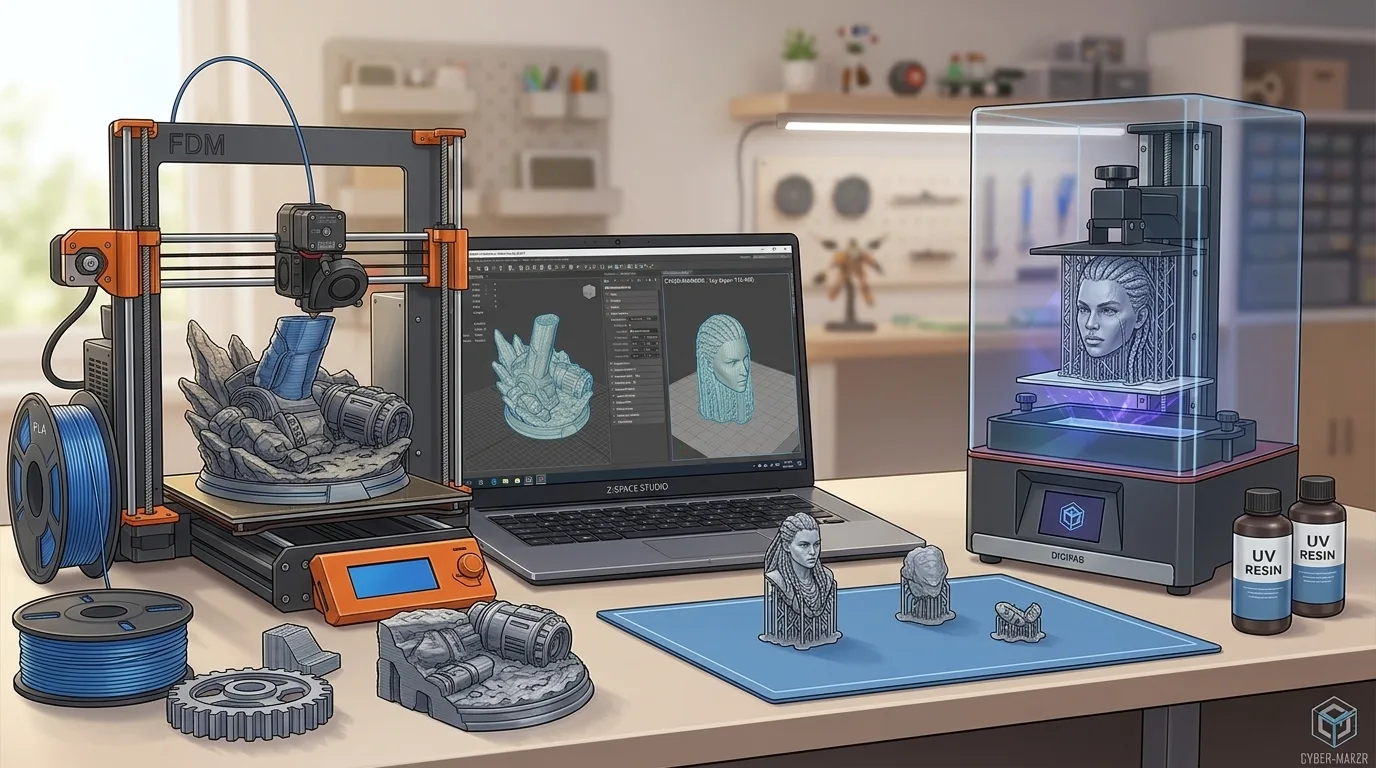
There are two main desktop 3D printing methods for figurines: FDM fused deposition modeling and resin printing. Both can be used to make figurines, but their use cases and final results are noticeably different.
FDM printing works by extruding filament through a heated nozzle and building the object layer by layer. Its advantages are lower equipment and material costs, larger build volumes, and suitability for bases, large props, low-detail prototypes, or simplified chibi-style figurines. However, because layer lines are more visible and nozzle diameter limits fine detail, FDM is less effective for small features such as faces, hair, and fingers.
Resin printing cures liquid resin layer by layer using UV light. It offers higher precision and smoother surfaces, making it very suitable for figurines, miniatures, statues, and complex decorative parts. Details such as facial expressions, clothing textures, and layered hair are usually much better reproduced with resin printing than with FDM.
In simple terms:
- If your goal is a low-cost, large-format, structurally simple figurine, FDM can be a good option;
- If your goal is high detail, a refined surface, and a model suitable for painting and display, resin printing is recommended;
- If the figurine includes a large base and a highly detailed character body, a hybrid approach can also work: print the base with FDM and the character with resin.
For this project, if the target is a display-quality character figurine around 6 to 10 inches tall, resin printing is usually the better choice.
4. Material Selection: Comparing PLA, ABS, PETG, and Photopolymer Resin
Material choice affects print difficulty, finished strength, detail quality, and post-processing methods. Different materials are suitable for different types of figurine parts.
PLA is the most common material for FDM printing. It is easy to print, has minimal warping, and produces less odor, making it beginner-friendly. It works well for bases, stands, and simple display pieces. However, PLA has limited heat resistance and may deform in hot summer conditions, so it is not ideal for long-term placement in direct sunlight or inside a car.
ABS offers better strength and heat resistance, and it can achieve a good surface finish through sanding, putty, and painting. However, ABS is prone to warping, requires a more controlled enclosed printing environment, and produces a noticeable odor during printing, making it less suitable for poorly ventilated home setups.
PETG combines a degree of toughness and durability with good layer adhesion, making it less brittle and suitable for structural parts that need some impact resistance. However, PETG tends to string more, and it is not as clean as PLA when printing small details.
Photopolymer resin is a common high-resolution material for figurine printing. Standard resin captures detail well and is suitable for display models; tough resin is less likely to snap and is useful for long, thin parts; water-washable resin simplifies cleanup, though strength and durability can vary by brand. Resin printing requires washing and secondary curing, and proper protection is essential to avoid direct skin contact with uncured liquid resin.
For figurine projects, a common approach is:
- Use high-detail photopolymer resin for the main character body;
- Use tough resin or a resin blend for small, fragile parts;
- Use PLA for large bases to reduce cost;
- Consider PETG or tough resin for more durable connectors.
5. Detail Requirements: Why High-Resolution Models Are Better Suited to Resin Printing
The core value of a figurine often lies in its details. Facial contours, eye shapes, hair layers, clothing folds, armor textures, and decorative patterns are all key factors that affect how the finished piece looks. If the printing process cannot accurately reproduce these details, even a well-designed model may end up looking rough.
FDM printing is limited by nozzle diameter and layer height. Even with a 0.2 mm nozzle and a low layer height, tiny details can still suffer from soft edges, visible layer lines, and heavy support marks. This is especially noticeable on character faces, where even slight layer lines or deformation can affect the expression.
Resin printing has an advantage in finer XY resolution and thinner layers, allowing it to capture subtle surface changes more effectively. For a figurine around 6 inches tall, resin printing can preserve clear facial structures and clothing textures. After sanding, filling, priming, and painting, the finished piece can look much closer to a professional model.
However, high resolution does not eliminate the need for post-processing. Resin prints still produce support marks, washing residue, and possible curing shrinkage. To reduce impact on visible surfaces, supports are usually placed on the back, underside, inside the hair, or at part connection points, while the model angle is optimized in the slicer.
Therefore, if the goal is a collector-style display figurine, resin printing should be prioritized. If you only need to verify the model structure or produce a rough shape, FDM can also serve as a low-cost test method.
6. Equipment Preparation: 3D Printer, Slicing Software, and Post-Processing Tools
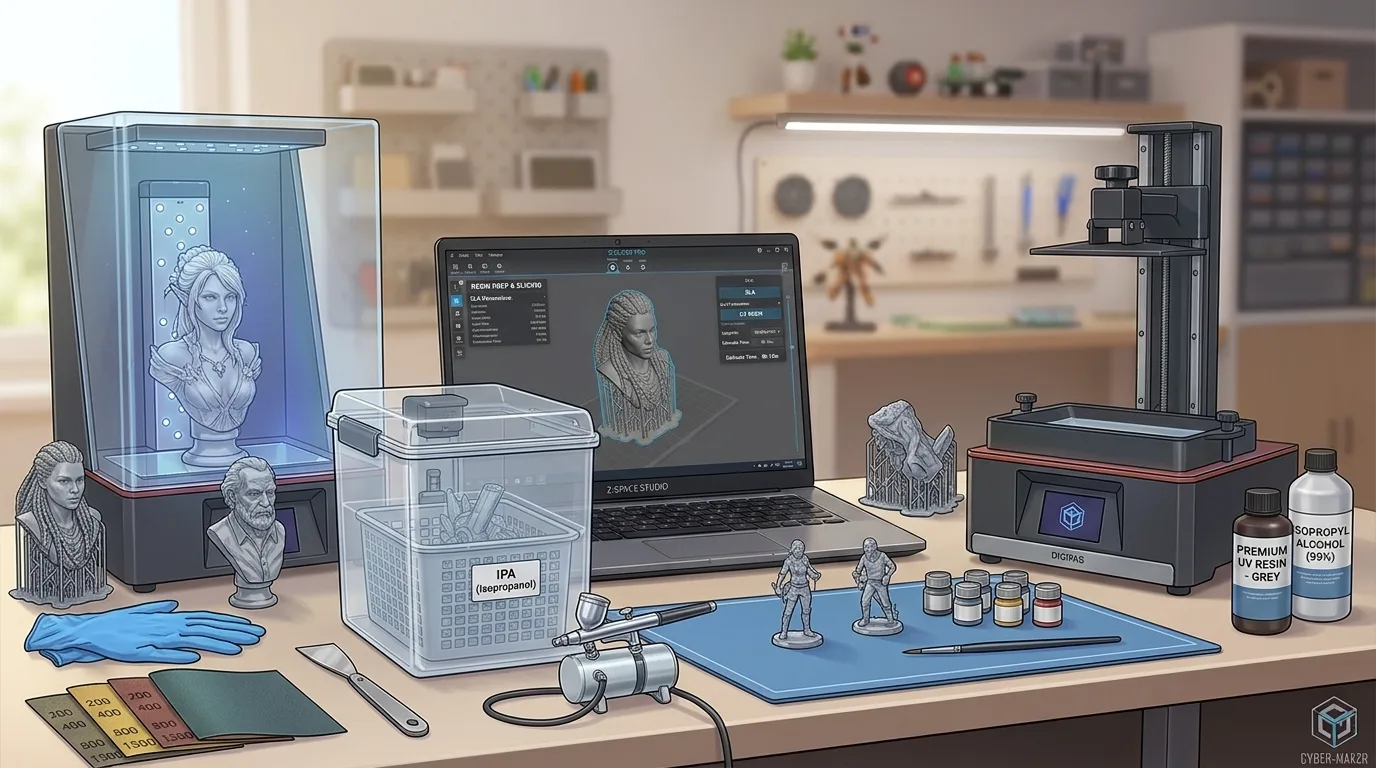
Before printing, you need to prepare the required equipment, software, and post-processing tools. The better prepared you are, the easier it will be to solve problems during the print process.
If you are using FDM printing, basic equipment includes:
- FDM 3D printer;
- PLA, PETG, or ABS filament;
- Slicing software;
- Scraper, flush cutters, and sandpaper;
- Modeling putty, primer, spray paint, or acrylic paints.
If you are using resin printing, basic equipment includes:
- Resin 3D printer;
- Photopolymer resin;
- Cleaning container or wash station;
- UV curing lamp or curing station;
- Disposable gloves, mask, and safety goggles;
- Filter funnel, silicone mat, and paper towels;
- Scraper, flush cutters, and tweezers;
- Sandpaper, sanding sponges, and modeling putty;
- Primer, airbrush, or hand-painting supplies.
For slicing software, FDM slicers are mainly used to configure layer height, infill, supports, speed, and temperature. Resin slicers focus more on supports, exposure time, lift speed, bottom exposure, and model orientation.
Post-processing tools are equally important. After a figurine is printed, it usually needs support removal, washing, curing, sanding, seam filling, priming, color separation, detail painting, and a protective clear coat. Printing is only one part of making a figurine; the final quality is often determined by post-processing and painting.
7. Model Preparation: Checking Broken Faces, Holes, Normal Errors, and Scale
Model preparation is a key step in improving print success rate. Many 3D models that look normal may actually have broken faces, overlapping surfaces, non-manifold geometry, internal cavities, or incorrect normal directions. These issues may not be obvious during rendering, but they can cause missing layers, abnormal infill, support errors, or print failures during slicing.
When checking the model, pay attention to the following:
- Whether there are unclosed openings;
- Whether there are unnecessary internal faces;
- Whether any structures are extremely thin;
- Whether there are overhanging parts that are difficult to support;
- Whether any parts overlap;
- Whether normal directions are consistent;
- Whether the bottom of the model is flat;
- Whether assembly clearance is reserved between parts.
Scale adjustment is also important. A model made for a game or animation may not have a real-world size. Before printing, set a target height, such as 4 inches, 6 inches, or 10 inches. Larger sizes make details easier to show, but they also increase print time, material use, and post-processing workload.
For resin printing, you also need to consider whether the model should be hollowed. Large solid resin models consume a lot of material, and curing shrinkage may cause cracking. After hollowing, drainage holes should be added to prevent uncured resin from remaining inside. Drainage holes should be placed on the bottom or in areas that can be easily hidden later.
If the model includes parts that are too thin, such as hair tips, fingers, sword points, or ribbons, they can be thickened slightly. The thickening should not be excessive, or it will affect the visual appearance, but the parts must be strong enough to survive printing, washing, support removal, and handling.
8. Splitting the Model: Improving Print Success and Reducing Support Marks
Splitting a figurine model into parts is an important step from “printable” to “easy to print well.” If a complex figurine is printed as one piece, it may require a large number of supports and can leave support marks on visible areas such as the face, chest, or legs. Proper part separation reduces the impact of supports on key surfaces and also makes sanding and painting easier.
Common part separation methods include:
- Separating the head from the body;
- Splitting the front and back sections of the hair;
- Printing arms, legs, and weapons separately;
- Separating capes, skirts, and flowing ribbons;
- Separating the base from the character body;
- Printing small accessories separately or merging them into more stable parts.
When splitting parts, connection structures should be designed, such as pegs, slots, alignment holes, or magnet holes. Connection dimensions should include tolerances based on the printing method. Resin printing can use tighter tolerances, while FDM requires larger gaps. In general, sockets should not be too tight, otherwise parts may break during final assembly.
Part separation also has a major advantage for painting. If the hair, face, clothing, weapons, and base are printed separately, each part can be sanded, primed, and painted individually before final assembly. This creates cleaner color boundaries and makes masking easier.
However, more parts is not always better. Too many pieces increase print batches, cleaning difficulty, and assembly error. A good rule is to split along natural structure lines, such as hair seams, clothing seams, armor edges, belt positions, and base connection points. This makes small seams easier to hide with putty and paint.
Through model inspection, proper part separation, suitable printing methods, and smart material choices, 3D printing a figurine can become a complete model-making workflow rather than just a simple print attempt. Beginners can start with a simple chibi-style figurine with fewer parts, then move on to high-detail, multi-part, complex-pose display figurines after becoming familiar with the process.