
Blog
A Simple Color Sample Process for Filament Orders
Use color charts to shortlist options, then confirm printed samples and packaging details before scaling up.
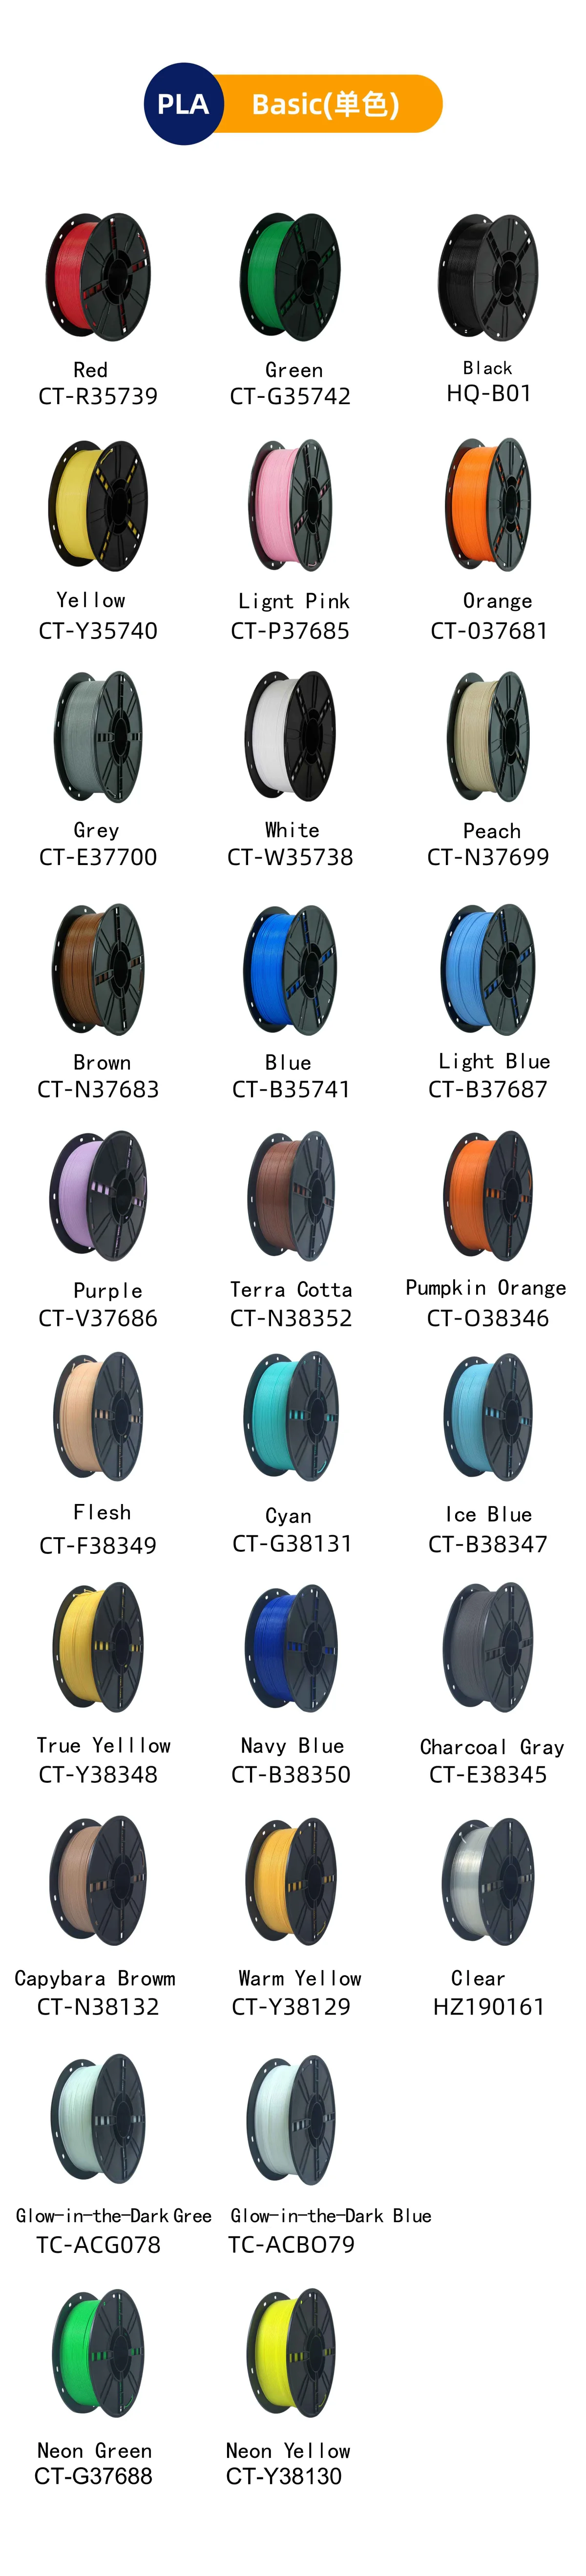
Color samples are a commercial control point
Filament color cannot be approved reliably from a screen. Photos and digital swatches help shortlist options, but extrusion, cooling, surface gloss, layer direction and lighting change the final printed look. For OEM brands, distributors and print farms, color approval protects SKU consistency and reduces costly revisions.
A structured process also helps repeat orders. When the approved sample is linked to material, packaging and batch records, future production has a clear target instead of a vague description.
Define the target before matching
Start with the purpose: brand color, seasonal retail color, prototype color or replacement for an existing SKU. Provide a physical part, previous spool, Pantone, RAL or printed reference when available. If the target is open, use a color chart to narrow the range before requesting custom matching.
Confirm material, diameter, spool weight and finish at the same time. PLA, Matte PLA, Silk PLA, PETG and ABS-like materials can show the same pigment differently because gloss and opacity change.
Review filament, swatches and printed parts
A short strand is not enough for B2B approval. A flat swatch shows hue, a small model shows curves and shadows, and a temperature tower or standard test piece shows behavior across print settings. Effects such as silk, matte, translucent and glitter need printed geometry.
Record nozzle temperature, bed temperature, layer height, wall count, speed and printer model. Without these records, another team may judge the same filament under different conditions.
Compare under controlled lighting
Many color disputes are lighting disputes. The same sample can appear warmer under indoor lamps, cooler in daylight and darker in a warehouse. Choose the light that matches the sales environment: retail shelf, photo booth, office, workshop or end-use location.
For stricter programs, agree on a Delta E target and measurement method before production. For practical wholesale work, keep one approved physical sample as the main reference.
Lock color to SKU and packaging
After approval, connect the color to the full order standard: material, diameter, net weight, spool type, label, color name, barcode, box and carton information. In private label projects, confirm that the name on the box matches the internal production code.
Keep a sealed signed sample with date, batch, material and print settings. This retained sample becomes the reference for incoming inspection, mass production and repeat orders.
Pre-production checklist
- Target reference: Pantone, RAL, physical sample or previous batch.
- Material and finish confirmed before color approval.
- Printed sample reviewed under agreed lighting.
- Print settings recorded for every reviewed sample.
- Color name, SKU, label and packaging files aligned.
- Signed sample retained for future QC comparison.
Mistakes to avoid
Do not approve color only from a phone photo, change material after approval without rechecking, compare samples under random lighting or start bulk production without a sealed reference. A simple sample process gives DD3 and the buyer the same target before scale-up.